
Introduction
Gitea is a great way to organize and manage projects. One feature that I use most is the template repository. You can use template repositories for anything from themes to plugins to configs.
In this guide, you will create a template repository that will generate new WordPress sites in DDEV.
Prerequisites
Before you begin this guide you’ll need the following:
Step 1 — Create a Template Repository
First, we need to create a template repository. In Gitea, create a new repository, name it something relevant to what it is (ddev-wordpress), and tick “Make repository a template”.

Now we’ll need to create the default DDEV files to work with in the new step.
Step 2 — Generate a DDEV Site
In this step, we just want to generate the config files that DDEV creates when you normally create a new site.
First, create a directory to work in. For this guide, we’ll just call it ddev-wordpress.
Next, run ddev config to generate the config.
Project name: ddev-wordpress
Docroot Location: current directory
Project Type: wordpress
Once created you should be left with a .ddev/config.yaml file like this:
name: ddev-wordpress
type: wordpress
docroot: ""
php_version: "7.4"
webserver_type: nginx-fpm
router_http_port: "80"
router_https_port: "443"
xdebug_enabled: false
additional_hostnames: []
additional_fqdns: []
database:
type: mariadb
version: "10.3"
nfs_mount_enabled: false
mutagen_enabled: false
use_dns_when_possible: true
composer_version: "2"
web_environment: []
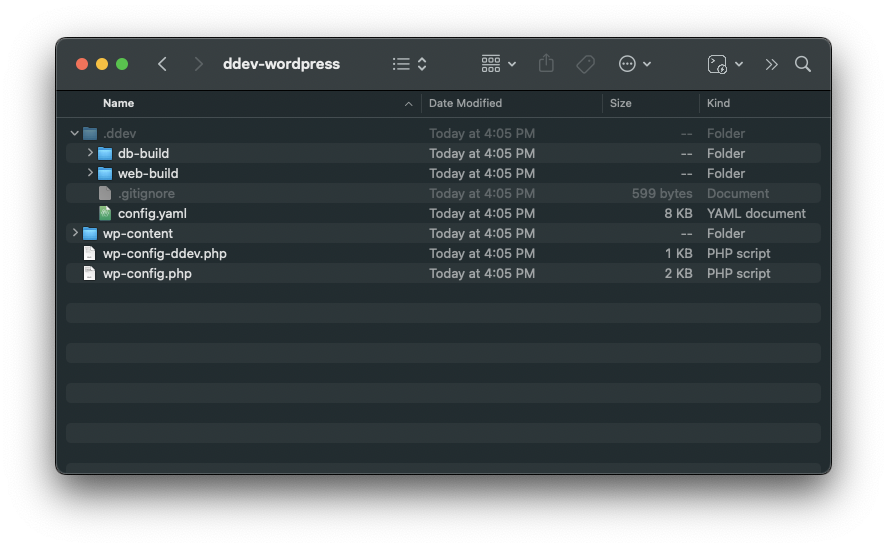
nodejs_version: "16"Your directory structure should look like the following:
At this point you can delete everything in .ddev/ except config.yaml, wp-config.php, and wp-content/ because they won’t be needed in the template repository.
Step 3 — Add Gitea Variables to DDEV Files
Gitea has a list of available variables but the main ones we’ll be using are REPO_NAME and REPO_DESCRIPTION.
Open .ddev/config.yaml and change “name: ddev-wordpress” to “name: ${REPO_NAME_KEBAB}”
Adding _KEBAB to the end of the variable will transform the variable to use hyphens.
Next, open wp-config-ddev.php and delete the comment at the top.
/**
 * #ddev-generated: Automatically generated WordPress settings file.
 * ddev manages this file and may delete or overwrite the file unless this comment is removed.
 *
 * @package ddevapp
 */
Next, replace some of the config with the following:
/** MySQL hostname */
define( 'DB_HOST', 'ddev-${REPO_NAME_KEBAB}-db' );

/** WP_HOME URL */
define( 'WP_HOME', 'https://${REPO_NAME_KEBAB}.ddev.site' );
Also update any $variables to $$variables. This will escape the variables after the site is generated from the template.
Example: $table_prefix to $$table_prefix.
Tip: You can also add any variables to this file you’d like to use on all your sites such as defining licenses for your plugins and/or debugging. Here are some examples:
/** Akismet API Key **/
define('WPCOM_API_KEY','YOUR_KEY');

/** Gravity Forms **/
define( 'GF_LICENSE_KEY', 'YOUR_LICENSE' );
define( 'GF_RECAPTCHA_PUBLIC_KEY', 'YOUR_KEY' );
define( 'GF_RECAPTCHA_PRIVATE_KEY', 'YOUR_KEY' );

/** Advanced Custom Fields **/
define('ACF_PRO_LICENSE', 'YOUR_LICENSE' );
Step 3 — Create .gitea/template
In this step, we need tell Gitea which files to expand.
Next, create a file called template in a directory called .gitea.
In this file you can specify which files will be expanded. For this guide, we’ll need the following:
.ddev/config.yaml
wp-config-ddev.php
Push all this up to your repository and move to next step to test everything out.
Step 3 — Generate a Repository for the New Template
Next, create a new repository using the new template by clicking “Use this Template”. When you name the repository, the template will use the Repository Name as the DDEV domain.
Conclusion
Now you should be able to generate new site repositories to be used in DDEV.
This is really just a starting point. You can also use hooks in the config.yaml to install and setup WordPress after running ddev start. Here’s just an example:
Add this to config.yaml
hooks:
  post-start:
    # Install WordPress after start
    - exec: "chmod +x setup.sh; ./setup.sh;"
Create a file called setup.sh and paste the following:
#! /bin/bash

# Download WordPress to subdirectory
if ! wp core is-installed; then
	echo "Downloading WordPress..."
	wp core download --skip-content

	# Install WordPress
	echo "Installing WordPress..."
	wp core install --url="https://${REPO_NAME_KEBAB}.ddev.site" --title="${REPO_NAME_TITLE}"
fi
In setup.sh you can run any wp-cli commands you’d like so you can also install plugins like so:
wp plugin install debug-bar wordpress-importer
Leave a Reply